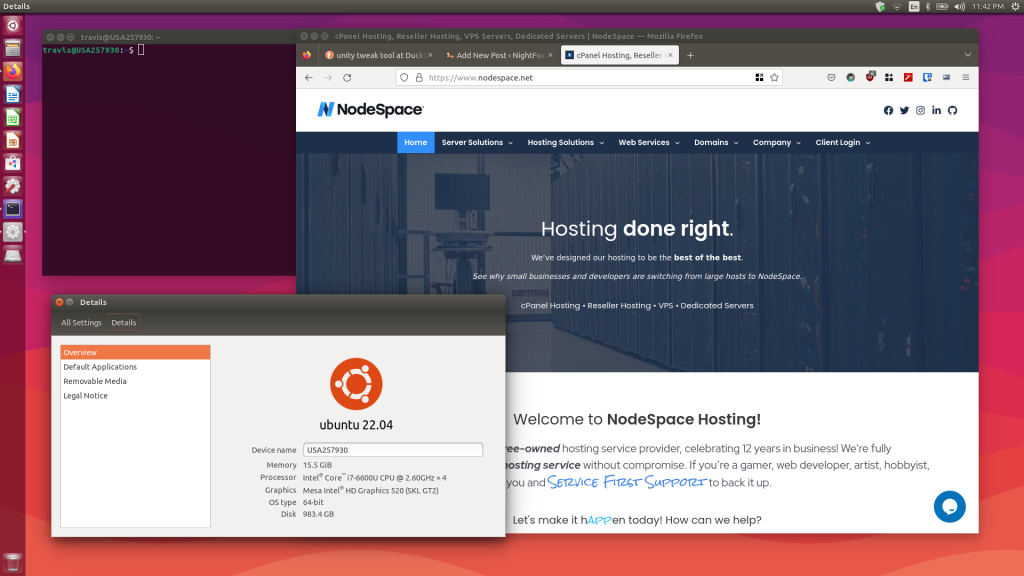
You may remember Unity as being Ubutnu’s primary desktop environment from 11.04 until 17.04. It was a pretty great environment and one that I still miss greatly. Mostly because I primarily compute on a Mac and Unity was very Mac-like. Especially with the app menus in the top. I like that a lot. But did you know that after Canonical abandoned Unity 8, someone took over Unity 7 and made a spin of Ubuntu called Ubuntu Unity? Yep! Unity 7 working on modern Ubuntu! Even more impressive, the lead dev was only 10 years old when he started!
If you’re like me and have a Ubuntu machine laying around, here’s how to put Unity back on it.
- Update your system.
sudo apt update && sudo apt upgrade -y - Install Unity:
sudo apt install ubuntu-unity-desktopand then wait for it to install. - Select
lightdmas your window manager (although it does apparently work with Gnome’s but I haven’t tried it yet). - Before rebooting, run
sudo apt install dbus-x11otherwise you’ll get a “Oh no! Something has gone wrong!” screen and be forced to log out. - If you’re on a laptop, you might also want to run
sudo apt install xserver-xorg-input-synapticsso you have your touchpad drivers. - Reboot and now you should see your old familiar friend!
After not using this interface in a while, I will caution you it will look dated. But as someone who hates the “round” Gnome has become, I like the shine and fun animations of Unity.
Make sure you go into settings and change your theme to Ambiance in case it’s still trying to load Adwaita. Get the Unity Tweak Tool (sudo apt install unity-tweak-tool) if you’d like to easily change your cursor to Yaru.

Enjoy!
