Way back in 2014 or so, a friend of mine asked me if I wanted some firewall stuff he had but wanted to get rid of. I said sure, and drove out to meet him and pick it up. So about 7 years later (wow, where has the time gone?!), I decided to break out this stuff to see what was still usable.
Sophos UTM 110/120
I found a Sophos UTM 110/120 in the box of stuff and it was still factory sealed. This device is from 2012 and I don’t have a license for it. Quite frankly, I don’t want a license for it. I don’t even know if Sophos supports it. But I was looking at the hardware and I saw a VGA port. So I decided to plug it in and sure enough, I saw an AMI BIOS. Then I saw it booting Linux.

So unlike your USG (which also runs Linux), this actually has a VGA port and apparently USB ports that work (cough, Cisco’s “for ‘future’ use”). That lead me to think, can I put pfSense on this thing?
Just to double check, I spammed the delete key on the keyboard and sure enough I got into the BIOS. From there, I saw that I am working with an Intel Atom N450 which clocks at 1.66 GHz and is 64-bit. Intel Atoms have a bad reputation because OEMs back in 2007-2009 thought that this low-power, low-cost (Intel’s MSRP was $64 in 2010 money… not kidding) CPU would work great running Windows XP… and Windows 7. Spoiler: It did not. But in this case, it’s actually more than enough! Anyways, I also saw that the unit had 2 GB of RAM which is it’s max.
So I did what any geek does. I voided the warranty which expired long ago.

Sure enough, sitting on top, we have a 320 GB Hitachi 54K, SATA 3.0 HDD. After unscrewing the HDD bracket, I found the dual sided motherboard and the 2 GB DDR2 SODIMM. It was definitely designed to be a firewall, but I’m sure it can run DOOM.
And this is where I want to pump the brakes. This is a device from 2012. Here is the spec sheet:
- Intel Atom N450 1.66 GHz
- 320 GB SATA 3 54k HDD
- 2 GB DDR2 RAM
- 4 gigabit ethernet
- 2 USB 2.0
- RJ-45 Serial port
- VGA port
- Mostly user serviceable
2021 Price on ebay: ~$80
Let’s compare this to a Ubiquiti USG (the non-pro).
- 500 MHz CPU
- 512 MB DDR2 RAM
- 2 GB Flash Storage
- 3 Gigabit ethernet
- RJ-45 Serial port
2021 Price: $140
Oh – totally forgot too. If you enable some of the advance security features on the Ubiquiti USG, it’ll throttle your internet down to a max 80 Mbps. No good.
Converting to pfSense
So how do you install pfSense on this thing? Well, it is a computer after all. It meets the requirements for pfSense. So I downloaded pfSense and flashed it to a USB flash drive per pfSense’s documentation. I just used a spare 4 GB USB drive, not sure if this thing would even boot because I didn’t see a USB boot option in the BIOS.
I plugged the USB into one of the USB ports with a keyboard in the other and the monitor into the VGA port. From prior experience, just spam the F11 key to get to a boot menu. Surprise, I did get a boot select menu and I had two options: USB and the Hitachi hard drive. Select the USB option and I got the pfSense boot screen. Great success!
Where things went haywire was when it came to partitioning the drive. Automatic setup failed and I had to manually partition. I just added a single / (root) partition. pfSense installed to this just fine.
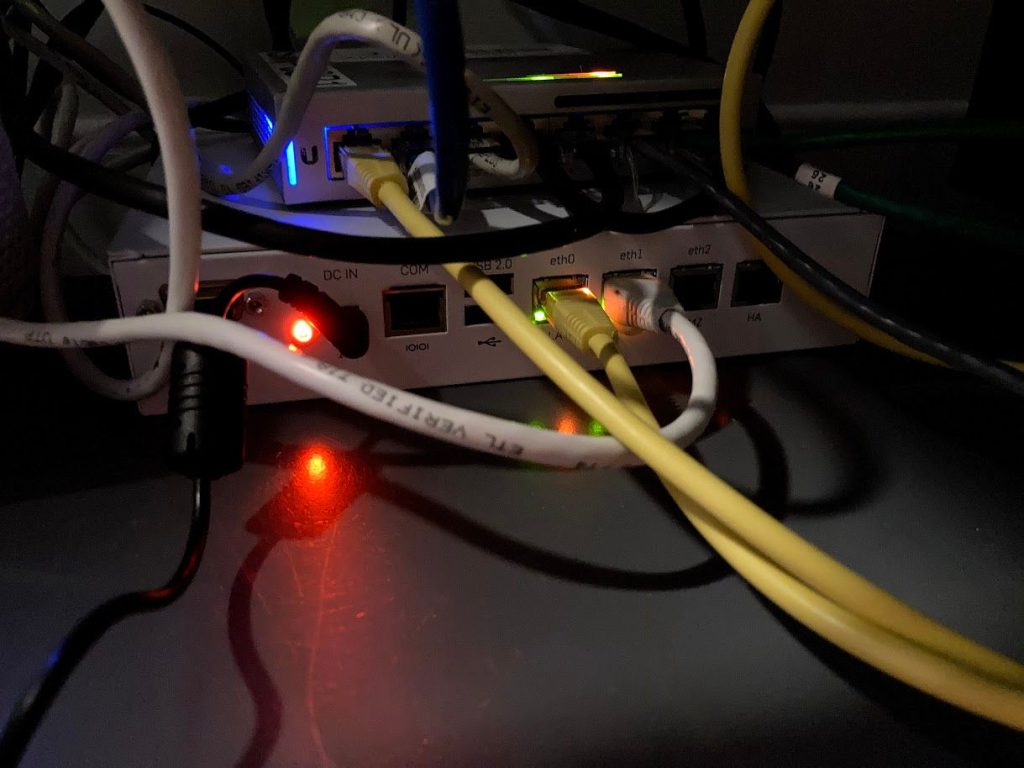
After installation, I had to find the correct interface for the LAN port as on the Sophos UTM, the ports are LAN, WAN, DMZ, and HA. The MAC addresses end in 47, 48, 49, and 50, respectively. After viewing the interfaces from the pfSense console, I was able to map them properly so I could access the web interface and start configuring the firewall. Within pfSense, I renamed the interfaces to match the ports. Additional ports within pfSense are called “OPT#” (OPT1, OPT2, etc.). I renamed the interfaces to match the labels on the case to avoid confusion and make it easier to plug things in at a later date.
Overall, it was really straight forward and I now have a (better, imo) firewall/router for my network. I was always intending to go pfSense, but this device is so much smaller and quieter than the one I was going to move to.