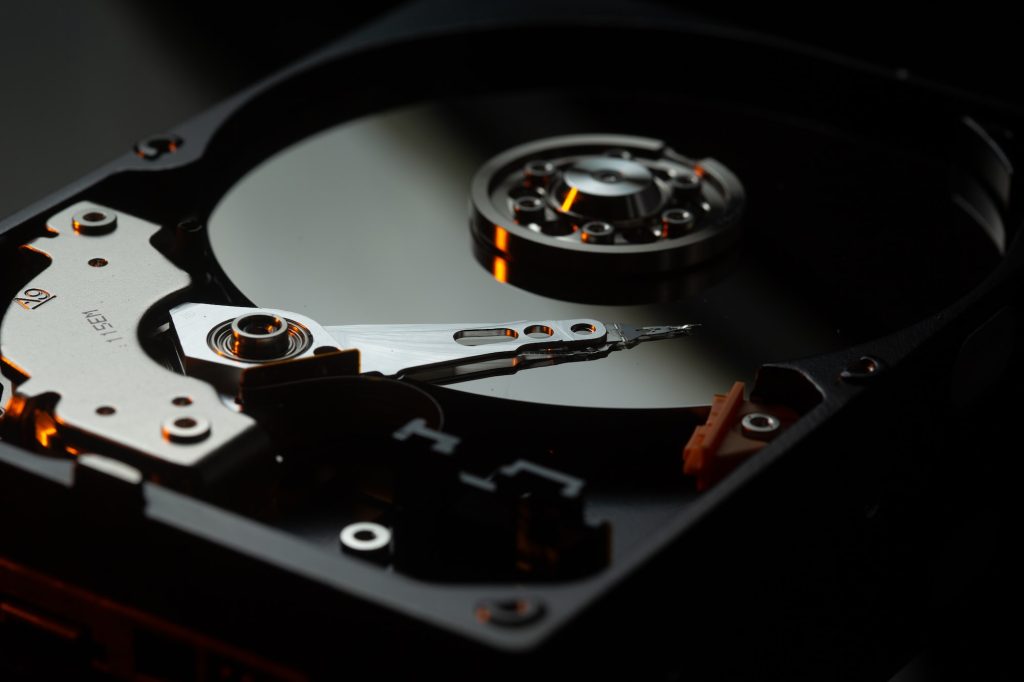
When you install Proxmox, it will create default local storage called local-lvm. This is a thin pool so it allows you to over-provision your storage space on your VMs. You need to be careful when over-provisioning as bad things can happen when you run out of space.
When I have a server with more than 1 disk and without RAID, I like to extend my local-lvm storage to include these additional disks. If you search the Proxmox forums, you’ll be told to just create new storage and adding a disk to LVM means if a disk fails, everything is hosed. Yeah, you won’t see the data protection that you get with RAID 5 or 6, but you also have to remember RAID IS NOT A BACKUP!

So if you can’t rely on RAID or LVM pools, but backups, then you might as well just tell people how to extend their LVM pool.
Telling people how to extend their LVM pool
Here’s what you need to do.
- You need to identify which disk is new. So SSH to your Proxmox server before adding the disk and run the command
fdisk -lorlsblk. I preferlsblkdue to the layout but if you’re new to Linux, use both. You can see the disk properties withfdisk -lso if you know the model, you can probably identify it easier. If you are re-using a disk, it may have partitions on it. Linux may not see those partitions. - Use
fdiskto create a new partition. My drive is /dev/sdb so that’s what I’m using here. Yours might be different.fdiskis called with the following command:fdisk /dev/sdb - Type the command
nand press the return key. This creates a new partition. - Type
pfor partition and press return. - Type
1for partition number 1 and press return. - For first sector, accept the default by pressing return.
- For last sector, accept the default by pressing return.
- Type the command
tand press return. - Type the hex code
8eand press return. - Press the
wkey and press return to write the changes. - Create the new physical volume by running the command:
pvcreate /dev/sdb1 - Add the new partition to the pve volume group with:
vgextend -v pve /dev/sdb1 - Finally, extend the vg pool with
lvresize --extents +100%FREE /dev/pve/data - You should now see a message that the size of logical volume pve/data_tdata changed from the old size plus your extra disk.
If you see a giant ramp up of disk space in the Proxmox console, then congratulations, you didn’t mess it up 🙂